Featured

Showing posts with label Organization. Show all posts

Monday, June 11, 2012

Road Trip with Little Kids

About a month ago we took our first long road trip family vacation. We drove down to Dallas to visit some family and just get away for a few days. It was the longest road trip we've taken since having Hudson three years ago. When he was about 13 months, we took a mini vacation to Minneapolis, but we worked out a way to shorted our time in the car by stopping in Sioux Falls to stay the night with my parents on the way there and the way home, so we only ended up being in the car for about 4 hours.

Dallas is around a ten hour drive from Omaha, but when you factor in stops for potty breaks, diaper changes, stretching and eating, it can easily turn it into a thirteen hour drive. I was extremely nervous about being in the car that long with a 3-year-old and a 11-month-old. Hudson was never good in the car as a baby. He would cry non-stop. Once we got a TV in the car, the crying started to ease up and he does much better now. (I always said I wouldn't be one of "those" parents that just puts a TV in front of their kids to keep them quiet, but now that I am a parent and realized how well it works and that sometimes it's the best I can do, I totally have become "that" parent. No judgements please...) Anyway, Harper does pretty good in the car most of the time, so I wasn't too worried about her.

We picked a date and made the plans. We decided to make a stop over on the way to Dallas. We figured it would work best to leave in the late afternoon and stay in a hotel somewhere in between in hopes that the kiddos would get in some sleep time in the car.I was excited to get out of town, but first things first, I needed to find some ideas for entertaining the kids and keeping them happy.

The first place I looked was Pinterest. I had seen some pins geared toward kids and road trips, so that's what I searched. I got some pretty great results including one that turned out to be a total lifesaver! Jordan over at The Fun Cheap or Free Queen has some really awesome tips!!

The BEST tip for me that she blogged about (that never crossed my mind) was making a trip to the dollar store or dollar section of Target before the trip and buying a bunch of "presents" for the kids to open in the car. You can read her entire post here. She even wrapped them in old wrapping paper she had on hand. I thought this idea was BRILLIANT! That was exactly the type of thing I was looking for. Hudson is sort of at that in-between age of not being a baby anymore, but not totally a big kid either, so I wasn't sure how I was going to keep him from having meltdowns. This was it!

I went to the Dollar Tree and picked up some fun things that I knew would be easy to play with in the car and then went home and wrapped them in some leftover birthday wrapping paper. Once we were in the car, I showed Hudson the bag of presents and told him that he would keep getting presents as long as he was being a good boy. It worked like a charm. We gave him the first present about 2 1/2 hours into the trip and then every 2 hours or so, depending on his behavior. He NEVER asked for a present the entire time, but got really excited every time he got to open one. It was awesome!! Here is a look at a few of the presents he got on the way down:

Oh, and I also picked up this Franklin DVD for $5 at Target so that Hudson would have something new to watch to keep him occupied. It's 3 hours long!! He had never really watched Franklin before, but liked it a lot.

I found a "girl" version and "boy" version of those cute stuffed caterpillars. (Side note: Hudson gets really attached to new stuffed animals when he first gets them and he loves bugs, so I knew we had to have these.) I was right, he loved it. See the photo below. Then I picked up a coloring book, a water gun for the pool once we got to Texas, a new Hot Wheels car and some glow necklaces, as well as a glow wand (not pictured) to use when it got dark out and we were still in the car.
(I took this picture after we got home and I think I'm missing something, but cannot figure out what it is)


Then the night before our drive back home, Jeremy and I went to Target and grabbed some more dollar toys for the drive home. We didn't buy anything that cost more than $1, so I think we ended up spending $10 on both kids on the way down and $10 for the drive home. Totally worth it for us!! It eased my mind and helped to make the trip much more enjoyable for everyone. There were NO tantrums or meltdowns at all! Amazing!

I was okay with spending a little money on the "presents" because our kids didn't really get anything else on the trip as far as toys. They each got some new clothes and Hudson got a $5 ball game from Old Navy to play with while we were there and a race track mat from Ikea to take home, but that was it. We definitely don't spoil our kids with toys. If you don't want to give your kids toys, you could always try educational "presents" or a punch card of sorts where they get punches to earn a special something.

Jordan has some other great tips too, such as, putting a basket of coloring books, games, etc. in between the car seats so they can be easily accessed by the kids and packing lots of nutritious and delicious snacks and drinks ahead of time so you don't have to stop a bunch. She also mentions pre-filling sippy cups so you don't have to pour in the car, which is something we always do for any road trip. It makes things so much easier!

I spent a lot of time planning ahead to try to ensure a smooth trip and it payed off.

Anyway, if you're looking for more ideas, I definitely recommend checking Pinterest. There were lots of other websites/blogs that I didn't even get a chance to look at.


All in all it was an awesome trip! We needed the break so badly and it turned out to be lots of fun! Here are just a couple pics of the kiddos in the pool.


Photobucket

Wednesday, March 2, 2011

Our Project To-Do List

Over the past couple months the hubby and I have come up with quite the home improvement to-do list!  Once we started talking about it and writing them down, the ideas just kept flowing.  So, in order to organize all our ideas and thoughts, we compiled a list and divided it up by room.  We decided to hang in on our fridge so that anytime we tackled a project, we could cross it off the list, plus that way we are constantly reminded of all the things we need to do.

(Don't mind our outdated almond colored fridge...replacing it is one of the things on our to-do list)

It may no be the most sophisticated way to go about things, but it's working for us so far.  Now the next move is to actually start crossing things off!!


Photobucket

Wednesday, February 2, 2011

Nesting Already?

Currently our nursery for the new baby is still the guest bedroom...or I should say the catch-all room.  I always had high hopes for it to become a cozy, inviting guest bedroom.  That never happened, and now it never will.  So, I've started slowly prepping it to become the nursery. 

The first thing that needed to be done was to clean out and organize all of our closets in order to make room for most of the items from the guest closet.  I started with my closet, then moved on to the coat closet and finally started arranging the guest nursery closet. (My husband cleaned out his own closet a couple of months ago)

Unfortunately, I didn't take before pictures of any of the closets, so these after pictures won't be as impressive, but trust me, the closets were horrible!  They had been neglected for months and months, if not years!
Hall Coat Closet


 My Closet
(I still need to get a shoe rack)

 Hubby's Closet
(didn't my hubby do a good job organizing it?)

 Nursery Closet
(a work in progress, but already sooo much better than what it was)

I love how good it feels to open an organized closet.  I'm huge on organization, so this is a great project for me to tackle in the winter.  Anyone else stuck inside getting things done?

Photobucket

Tuesday, January 4, 2011

A New Year, A New Calendar

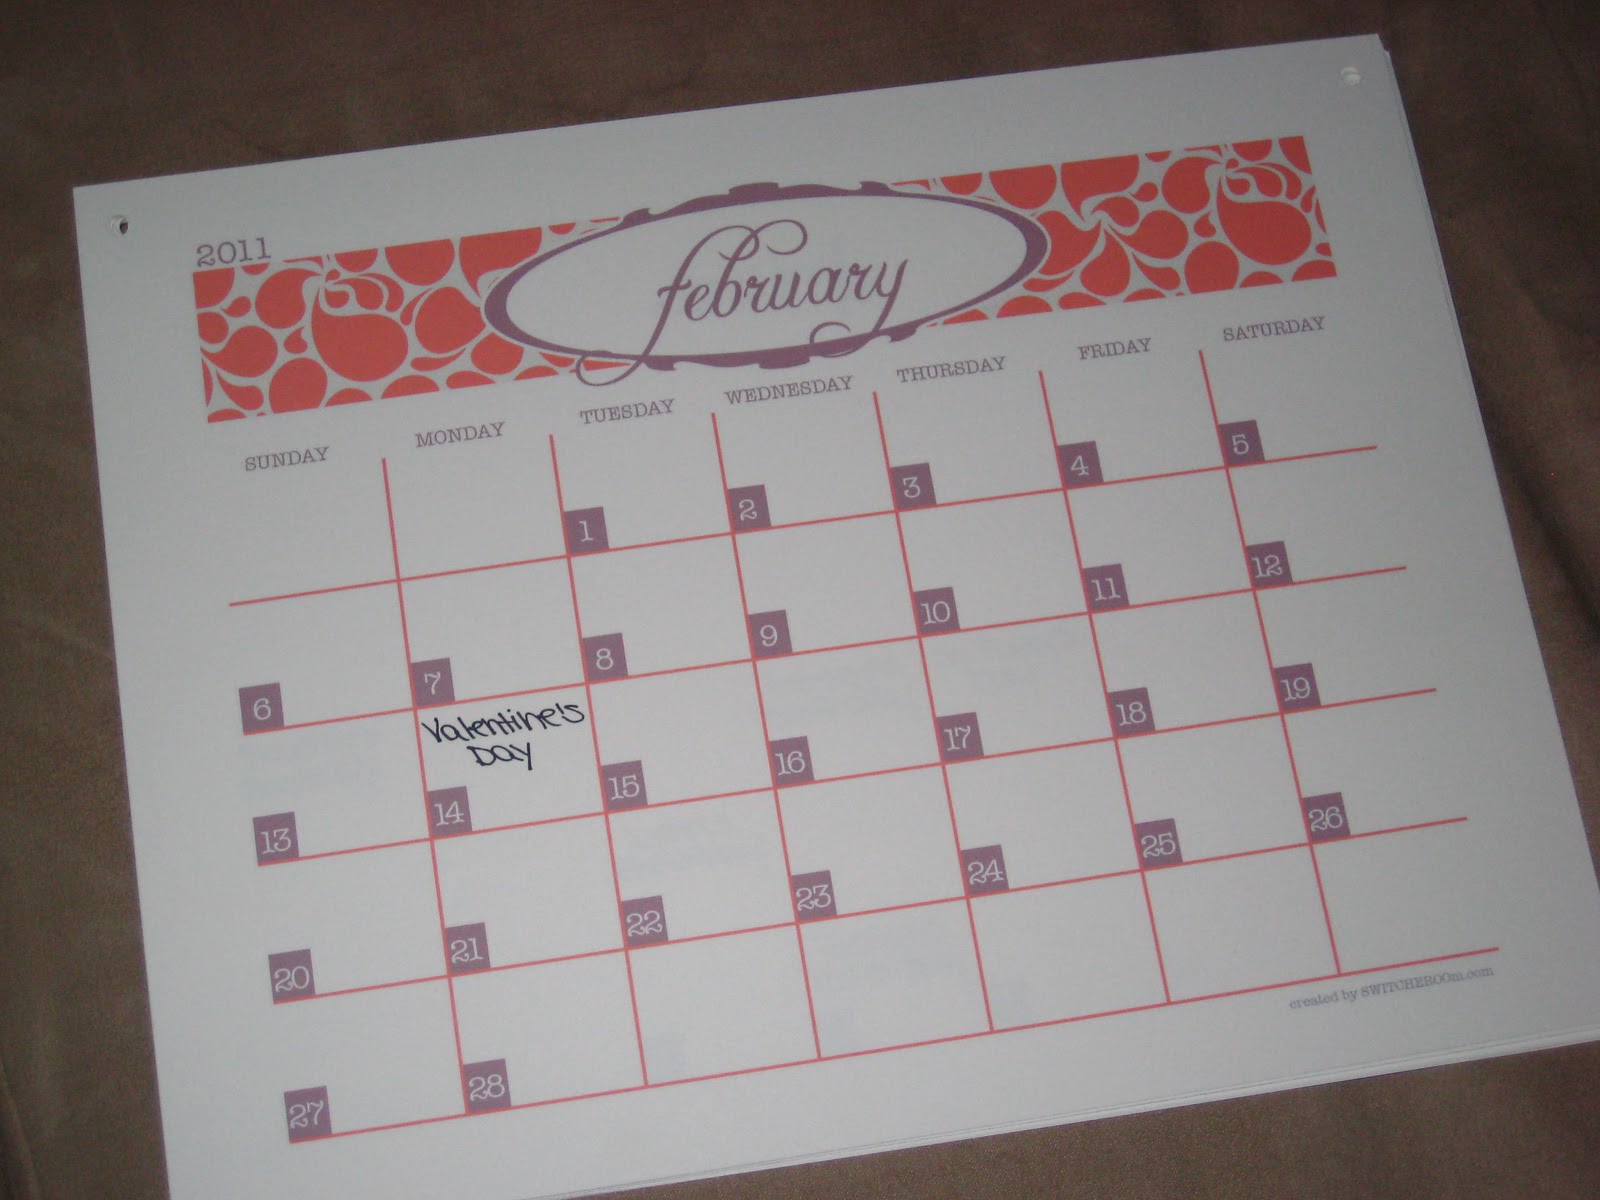
Last year we made a calendar to hang on our fridge and I was going to make a new one this year until I stumbled upon this beautiful FREE printable calendar from SWITCHEROOm.  So, I started following her blog and she emailed the file to me.  I printed it and hung it on my fridge using Command removable hooks.  I just LOVE it!


Here is a closer look.  Isn't it pretty?!

You should definitely go over and check out her awesome blog!


Photobucket

Monday, October 4, 2010

Pantry Update

Our pantry has looked the same since the day we moved in, bad.  We moved in in a rush, shoved all of our food in and never looked back.  I finally got to the point that I couldn't take looking at the ugliness of it all anymore!  So, Friday afternoon I tackled my pantry update in just a couple of hours.  A little paint, some organization and some labels go a long way...

Here are some before pictures...please don't stare at the ugly floor...it has some water damage and needs to be sanded and re-stained, but that's another day.


What do you think of the high gloss yellow paint?!  Yikes!

The shelves were disgusting, but we did have shelf liners on them.

Even the ceiling of the pantry was painted the ugly yellow!!

Here's my little man helping mommy...well, more like getting in the way!  But he was having fun!

 I used Fresh Aire paint (low VOC) from Home Depot.  The color is  called Of The Earth.  I didn't use white because I though it would show wear and tear more easily.
 We recently moved the trash can into the pantry because the little man was always playing with it and throwing everything away.

Here is an after pic of the shelves all organized.

 And here is what my shelf labels look like.  I made them with my P Touch label maker that my sweet hubby got me for Christmas a couple years ago.  He knows how much I like to be organized!

For a project that only took me a couple hours and no money to complete, I think it turned out pretty good!  It looks so much better than it did and now I can find everything!!

Here is where I'm linking up today:


 Photobucket