
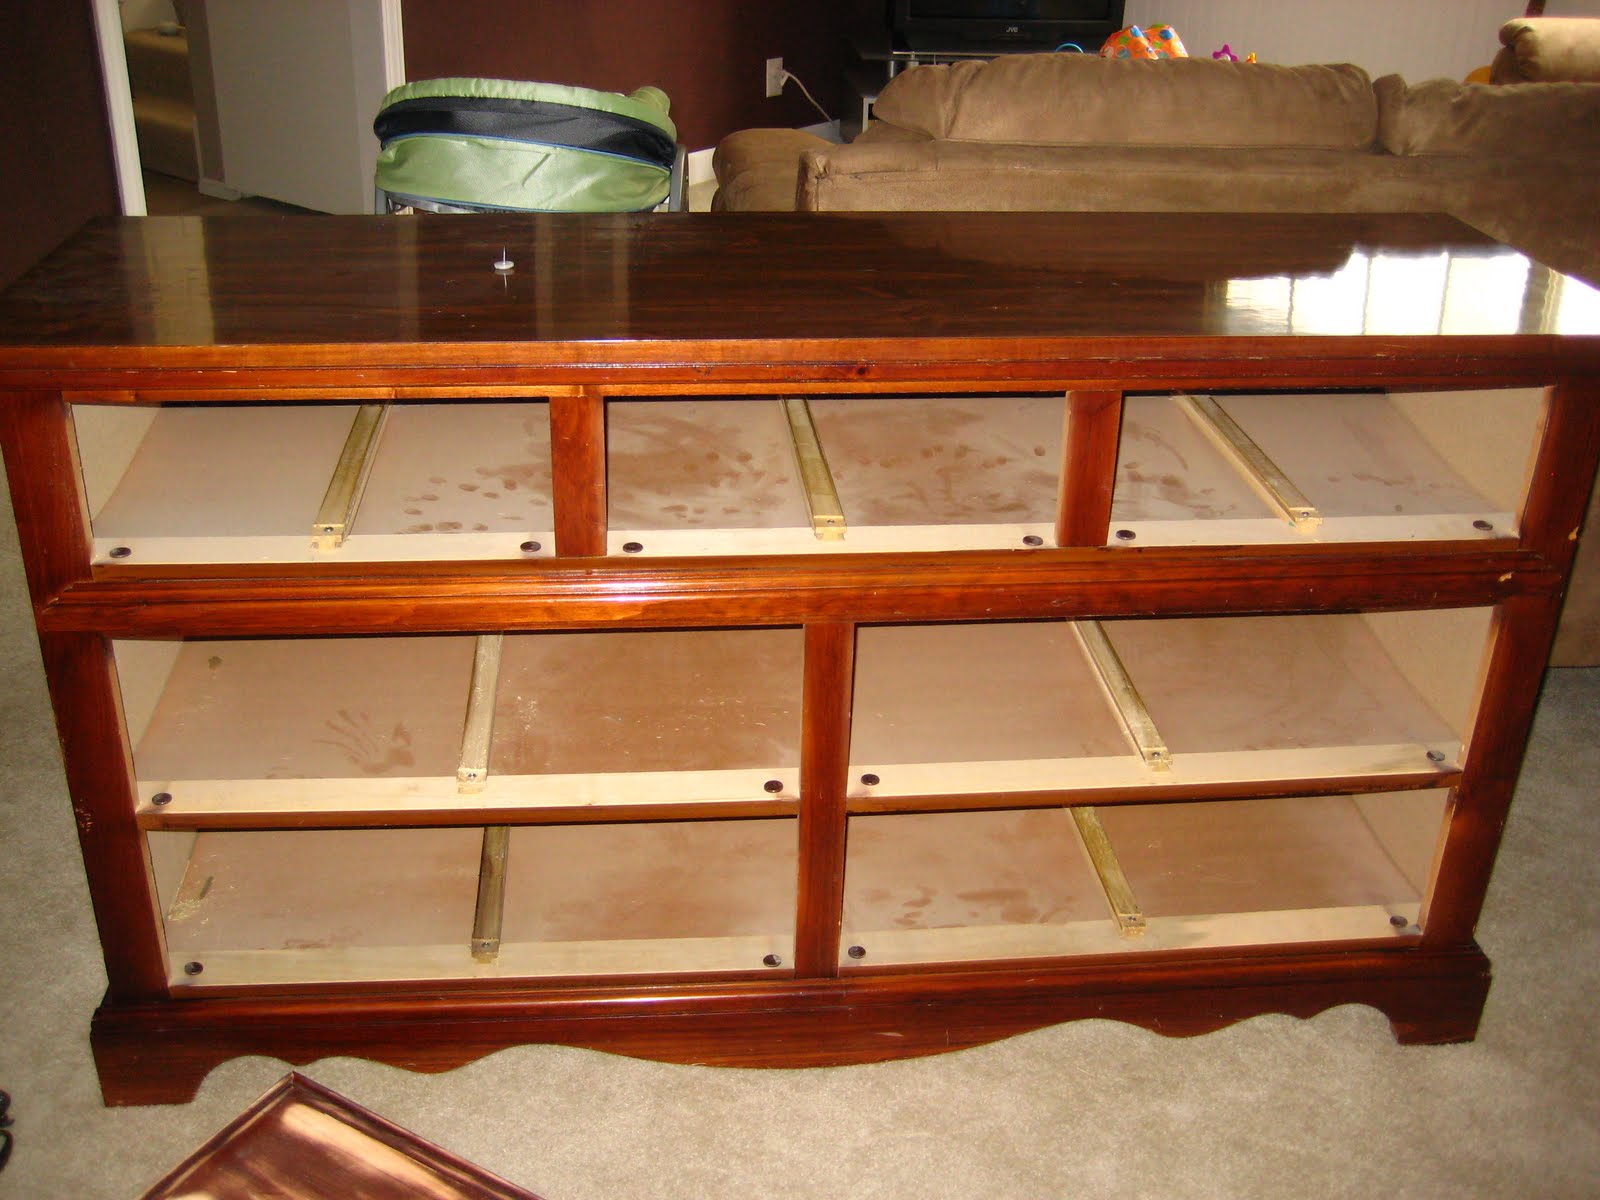
Here is the dresser before sanding (my helpful hubby did all the sanding):

And don't forget about the outdated hardware:

Here it is after the coat of oil based primer which is supposed to help keep the latex paint from bubbling up as much when you roll it on:

Grand Finale
And here is the finished dresser!! We just love it! Notice that we removed the decorative trim that was along the bottom. It was a little too frilly for our son's room and we wanted it to have more of a cleanlined look. The paint I used was Fresh Aire semi gloss white paint and I applied it with a foam roller. It took 4 thin coats. Once the paint was dry, I applied one coat of the minwax fast-drying polyurethane.

The new updated hardware

We even took the time to line the top drawers with a nice dark brown felt. It makes the dresser seem more expensive. Jeremy (my helpful hubby) really wanted to line the drawers after we took a trip to Nebraska Furniture Mart and all the pricey dressers had lined drawers. He's so fancy!

Here is the cost break down:
Dresser $30
Hardware $38
Total Cost: $68 I love a good deal!!
OK this is kind of bizarre. I clicked over to your blog from Remodelaholic because I saw that you had posted about a dresser remodel.
ReplyDeleteWhat's interesting is that just yesterday I purchased a dresser off Craigslist for $30 and it looks almost EXACTLY like the one you bought! I'm stripping it down, painting it white, and putting it in my dining room.
I didn't know about the felt lining in the drawer, I'm going to have to use that tip when I'm done remodeling my dresser. :)
BTW, cute blog background!
That is bizarre! I've actually been looking for something else similar for the master bedroom, but haven't had any luck so far.
ReplyDeleteI'm guessing the felt lining is great for undie or jewelry drawers, that way they stay in nice shape. It does add a little something extra which is nice.
Thanks so much for checking out my blog! Come back anytime and good luck with your redo!! Oh and you have some great pics on your blog!
what a great redo...i would never think about taking off the bottom piece of decorative molding, i woulda walked right by this! good thinking, and great job!
ReplyDeleteThanks! Yeah, it wasn't very pretty at the beginning...I guess you have to have a vision and this time it worked out!
ReplyDeletelooks fab! i have many a dresser at home that needs a makeover like you gave yours. makes me want to get my butt moving! :)
ReplyDeleteThis awesome!
ReplyDeleteI just bought a vanity desk that badly needs a redo. I haven't had the nerve to start it yet, but your post made it sound fairly easy to tackle. Thanks for the post!
Very nice!
ReplyDeleteFYI...there are drawer hardware templates you can buy at Lowe's to drill different sets of holes in drawer fronts so you don't have to necessarily find hardware that matches the previous holes.
I love what you did with the bottom - how did you remove the trim, and did you have to put new legs on?
Thanks June! I did know about the templates, but we didn't want to have to fill the old holes, plus I couldn't really find hardware that I was crazy about anyway until I found it online.
ReplyDeleteTo remove the trim, we just unscrewed it from underneath and then pulled it off. We didn't have to add new legs, but did have to add a piece of wood to the bottom so that the center wouldn't sag. Luckily, it worked great.
Great job! Love the difference removing the trim makes. I have a cherry dresser with the same outdated hardware. Love it, minus that hardware and I'm having trouble finding hardware to fit the spacing of the old (2.5" on center). Where did you find yours?
ReplyDeleteWe bought our hardware on myknobs.com. They let you browse by size and finish, so it's super easy to find exactly what you're looking for. Good luck!
ReplyDeletei actually have TWO of these (hubby had one growing up and so did I, but mine has 2 extra drawers!) and I was thinking about painting the one we have in our room (mine).
ReplyDeleteI LOVE the hardware! exactly was I was looking for, as I want to go deep brown/black in paint color. Can you tell me where you got it? Or email me the link? THANKS so much!